Members & Roles
Provide different permissions to each member of your organization. Someone with an "owner" role can customize:
- Which users can access the platform
- What features will each one be able to use
In this way, you can set the correct access for the indicated user.
For example, you can establish this 3 roles, assigned to different members of your organization:
| Role | Description | Rights |
|---|---|---|
| Customer | People who pay for goods/services of organizations | Low-tier rights |
| Vendor | People in your organization whose job is to sell plans, products, etc | Mid-tier rights |
| Admin | People in your organization whose job is to manage access and users in a system | High-tier rights |
How to create new roles?
-
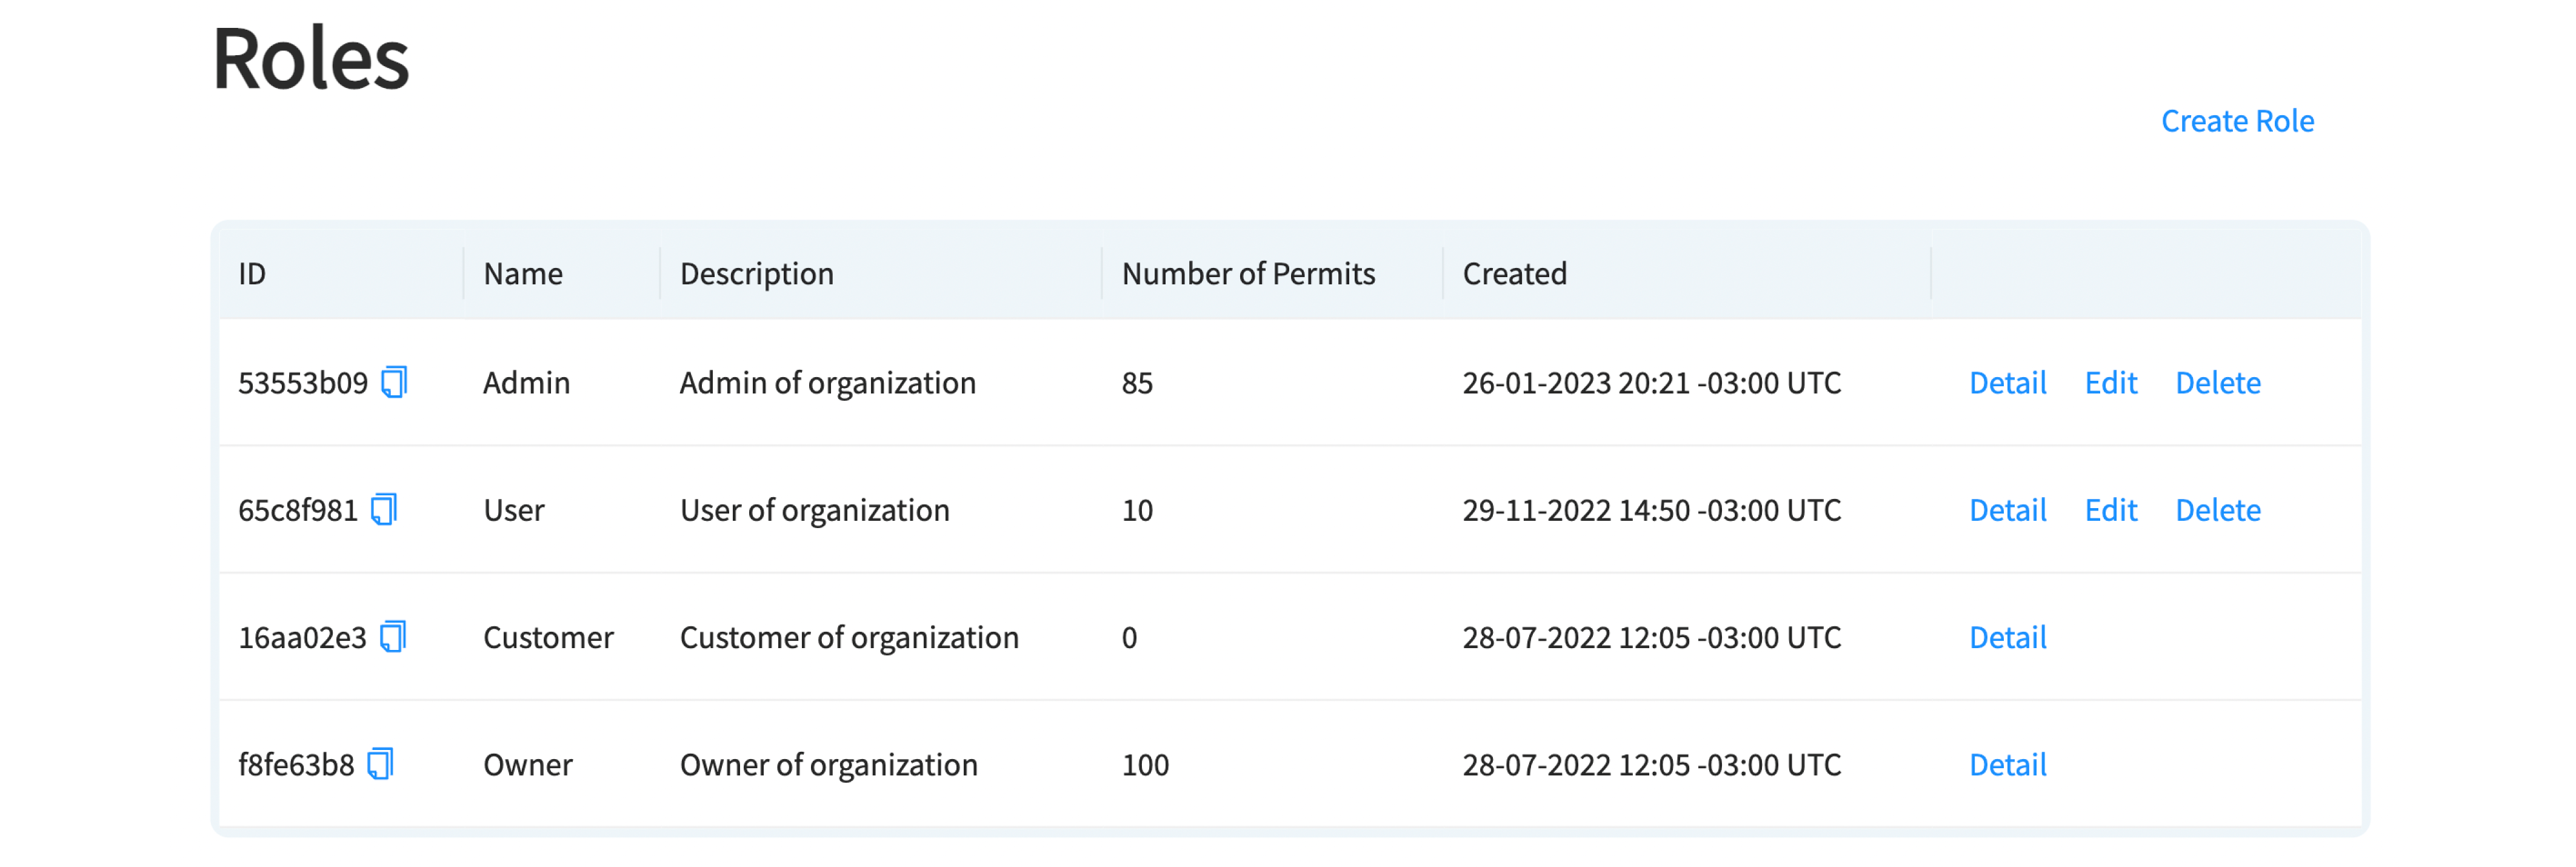
Access the “roles” section in the Rebill´s main menu. Once there, click on “create role” and choose a name and a description.
-
On the left, you will see all the features you can assign to this new role. You must select at least one permission and assign it by clicking the blue arrow.
-
Finally, click on “create” to confirm the creation of the new role.
You will instantly see the new role created, which you can edit and delete whenever you want.

How to assign roles to new users?
The second step is to invite new members of your organization to Rebill, to assign them specific roles.
-
In this case, you should go to the “members” section. You will only see the information of the organization’s "owner", who by default can access to all Rebill features.
-
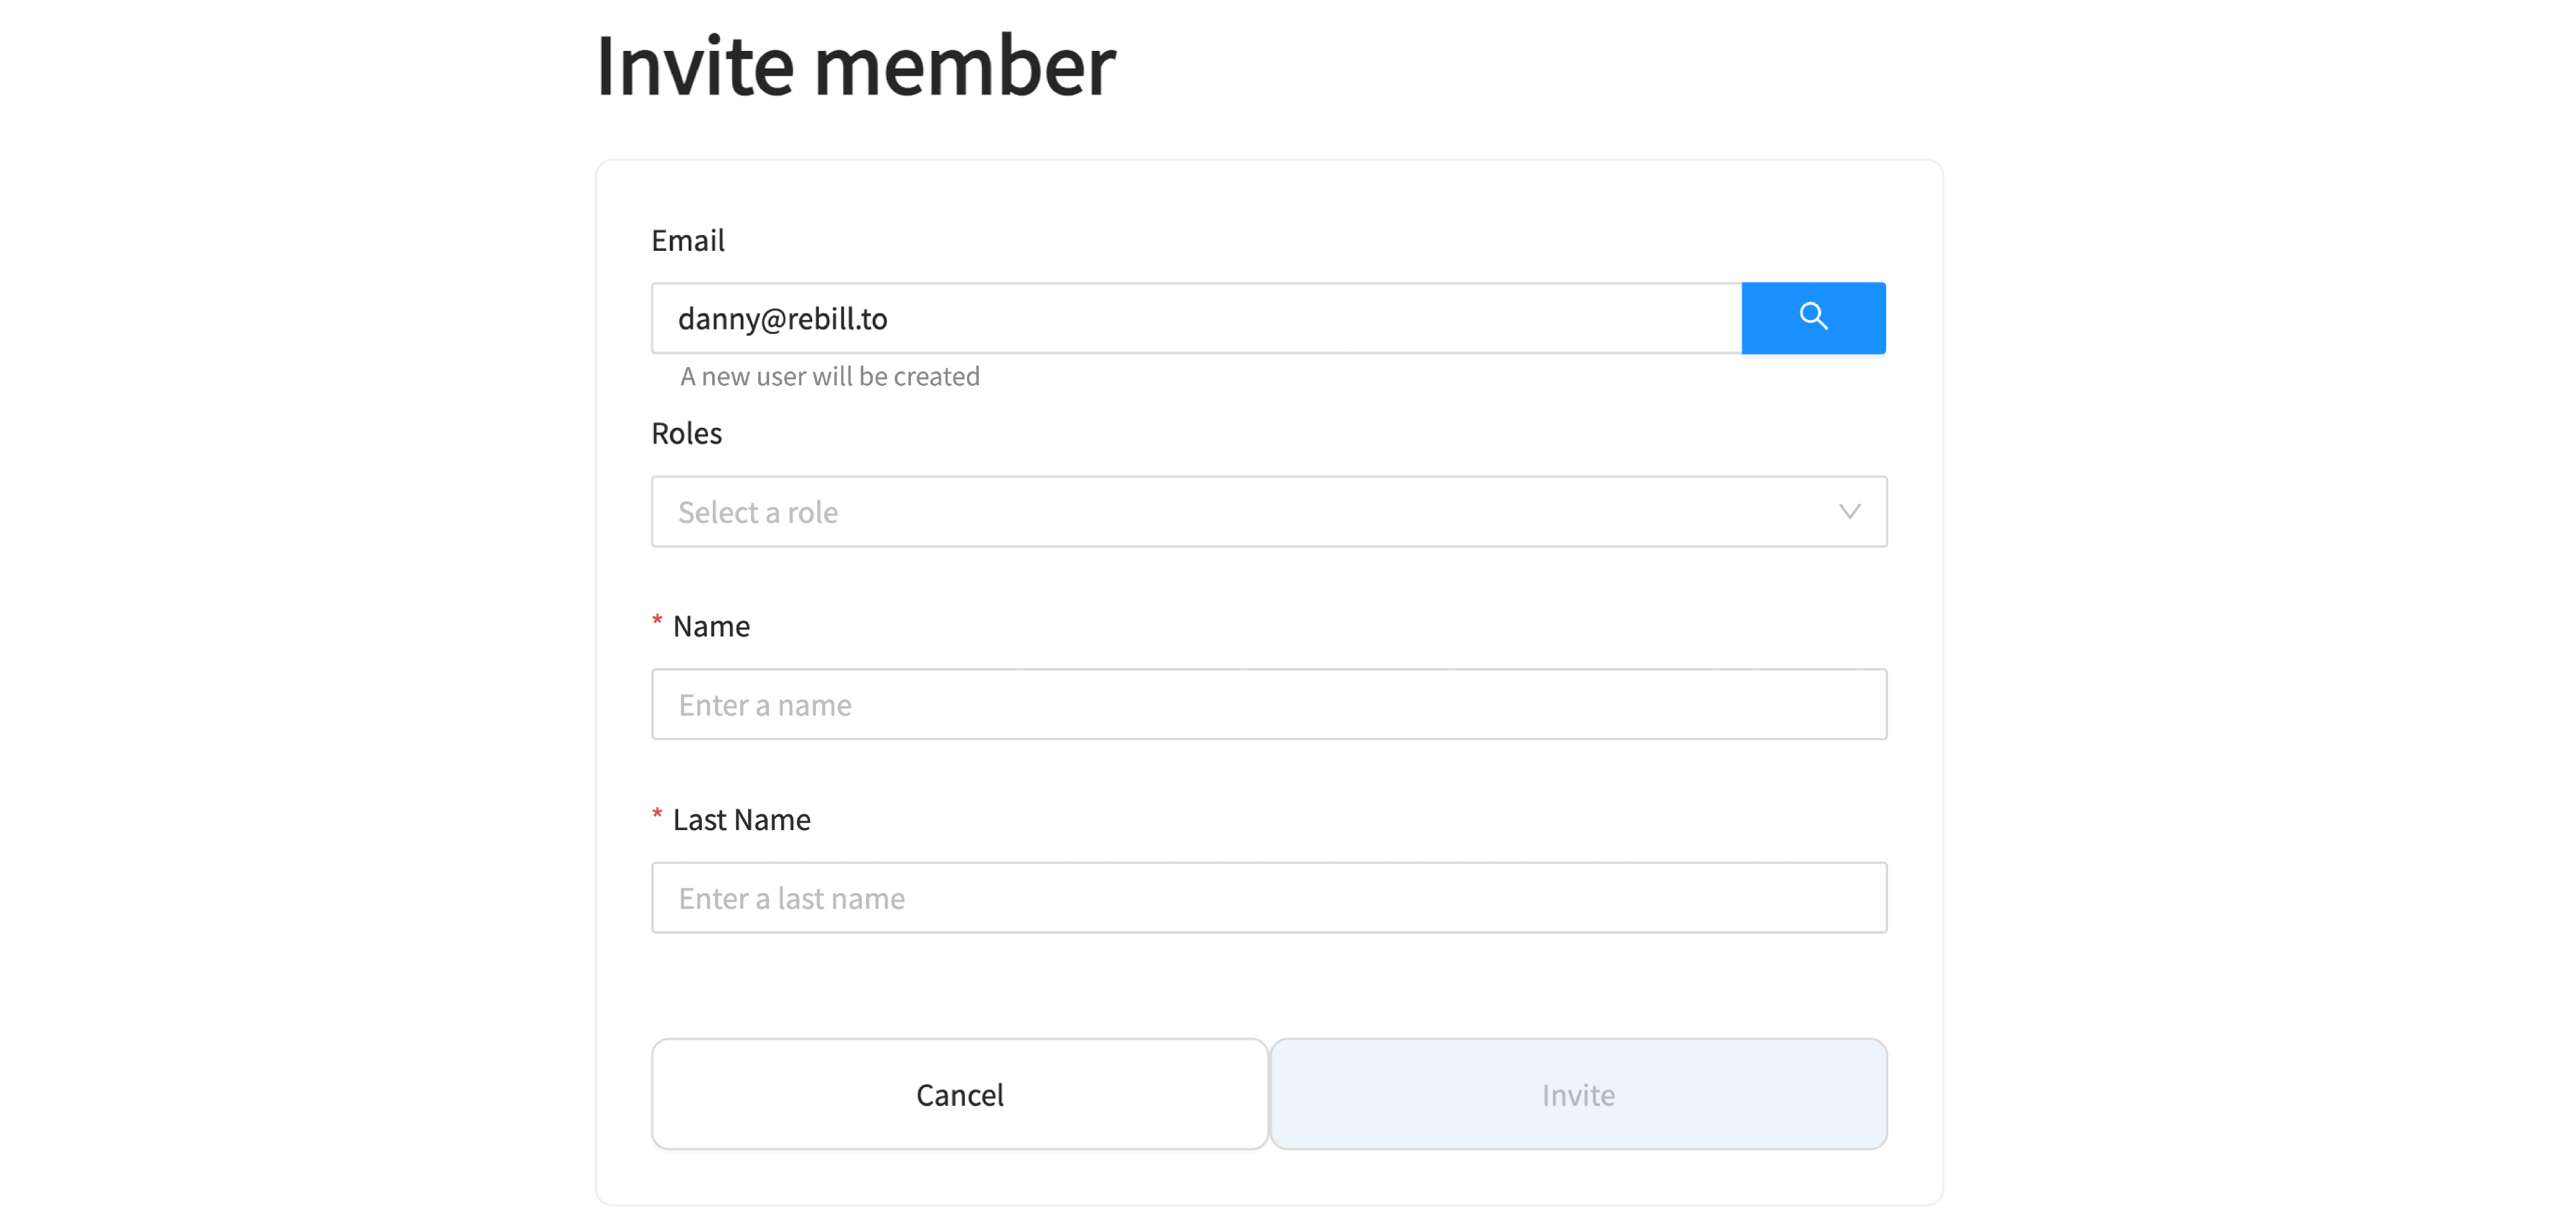
Click on “invite new member”.

- Fill in the email address, name and last name of the new member and select the desired role. Finally, click on “invite”.
